How Long Does Pottery Actually Take? From Wet Clay to Finished Piece
If you've ever taken a pottery class and left wondering when you'll actually get your piece back, you're not alone. It's the question we get more than any other, and it makes total sense. You watched clay turn into a bowl in front of you. Why does it take three weeks to get it home?
Here's the honest answer: because clay isn't done when it looks done. There's a whole process happening after you leave the wheel, and skipping any of it means a piece that cracks, warps, or never fully hardens. So let's walk through it, start to finish.
Step 1: Throwing (Day 1)
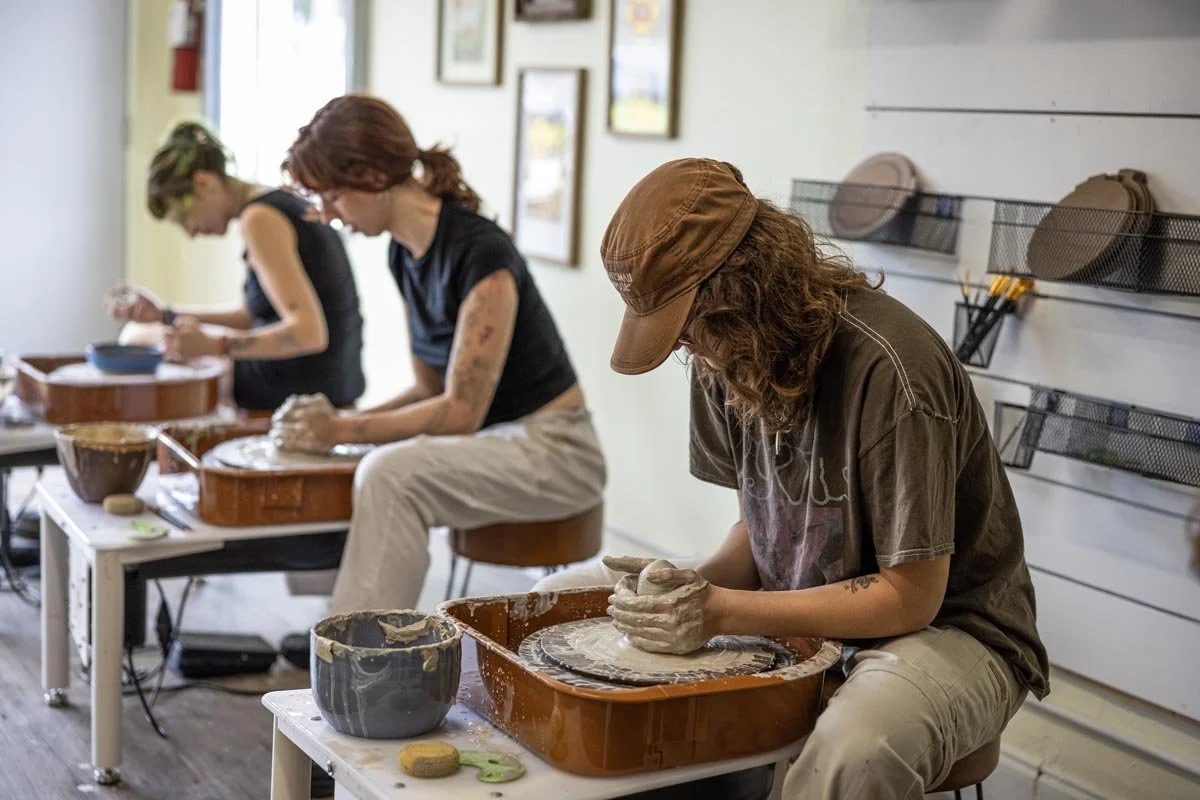
This is the part everyone thinks of as "making pottery." You center the clay, pull the walls, shape the form. It takes anywhere from a few minutes to twenty, depending on the piece and how steady your hands are that day. But the clay is still soft and full of water at this point, closer to wet sand than anything sturdy.
Step 2: Drying to Leather Hard (1-3 Days)
Before we can do anything else, the piece needs to firm up. At "leather hard," the clay holds its shape but is still cool and slightly flexible, kind of like a firm cheese. This is the window where trimming happens.
Step 3: Trimming (Day 2-4)
This is where we clean up the foot of the piece, refine the shape, and take off excess weight. If we trimmed too early, the clay would be too soft and collapse under the tool. Too late, and it's too hard to carve at all. Leather hard is the sweet spot, and it doesn't last long in Florida humidity.
Step 4: Bone Dry (5-10 Days)
Now the piece needs to dry all the way through, not just on the surface. This part can't be rushed either. If there's still moisture trapped inside when it hits the kiln, that water turns to steam and the piece can crack or explode. We're talking about all the water, not just the water you can see.
Step 5: Bisque Firing (1-2 Days)
The first trip through the kiln happens around 1,830°F. This isn't the pretty, colorful firing, it's the one that turns fragile dry clay into hard, stable ceramic. After bisque firing, the piece is porous and ready to take glaze, kind of like a sponge waiting to soak something up. The firing itself takes about a day including cool down, since the kiln can't be opened while it's still hot.
Step 6: Glazing (Day 12-15, depending on studio schedule)
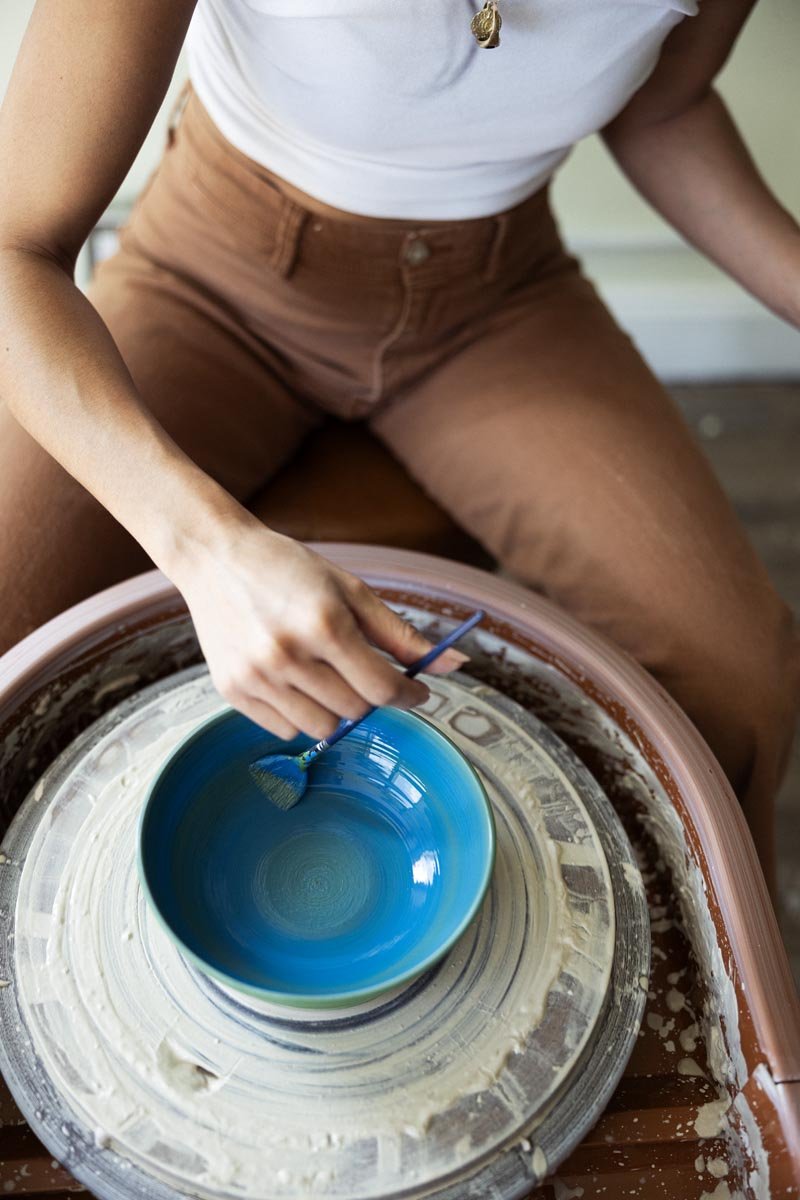
This is the fun, colorful part, and usually the part people think is the last step. We apply glaze by dipping, pouring, or brushing, and every glaze behaves a little differently depending on thickness and how it's applied. Some glazes look nothing like their finished color at this stage. You're kind of trusting the process here.
Step 7: Glaze Firing (1-2 Days)
The final firing goes even hotter, usually around 2,200°F for stoneware. This is where the glaze actually melts into glass and fuses to the clay body. It's also where all that chemistry turns into color. Another full day for the firing and cooldown, since opening the kiln too early can crack pieces from thermal shock.
So, Start to Finish?
Realistically, you're looking at 2 to 3 weeks from the moment you sit down at the wheel to the moment you pick up a finished piece. Not because anyone is dragging their feet, but because clay has its own timeline and rushing any step usually means starting over.
It's worth the wait. There's nothing quite like holding a mug you made with your own hands, especially when you remember it was just a lump of wet clay a month ago.
Ready to start your own piece and see the process firsthand?
Reserve Intro Class